The Simulation Menu
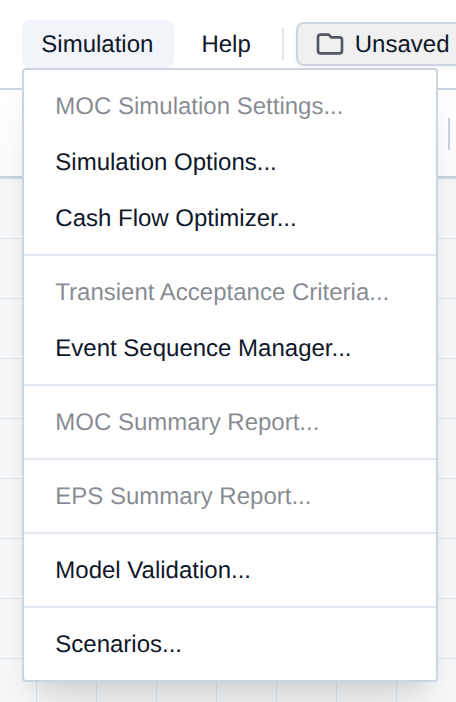
The Simulation menu holds run settings, water quality options, scheduled events, validation, and scenario comparison. Play, pause, reset, duration, and EPS/MOC mode live on the simulation control bar, not in this menu. Post-run summary reports live on the Results menu.
Greyed commands are unavailable in the current mode, or they need a completed or paused run. Hover a disabled item for the reason.
Here is a breakdown of every option in the Simulation menu:
- MOC Simulation Settings...: Timestep, cavitation model, and grid options for a Method of Characteristics (MOC) surge run. MOC only. Math: Appendix B.
- Simulation Options...: EPS hydraulic timestep and the default pipe leakage rate. Used mainly in EPS.
- Water Quality Analysis...: Enable chemical, water age, source-trace, or MSX analysis for the hydraulic run.
- Cash Flow Optimizer...: Batch EPS trials that search component settings to maximize net cash flow. EPS trials (even if the menubar is on MOC).
- Transient Acceptance Criteria...: Pressure and cavitation limits checked after an MOC run. MOC only.
- Event Sequence Manager...: Timed status, setting, and demand changes. Used in EPS and MOC.
- Model Validation...: Compare R-THYM EPS results to a native EPANET solve. EPS only.
- Scenarios...: Named copies of the model with parameter overrides. Used in EPS and MOC.
[!NOTE] Switch EPS / MOC on the control bar before opening mode-specific commands. See the Glossary for EPS, MOC, DVCM, and related terms.
MOC Simulation Settings
Open Simulation → MOC Simulation Settings... when the control bar is on MOC. These values apply to the surge / water-hammer engine, not to EPS.
- Set the control bar to MOC.
- Open Simulation and choose MOC Simulation Settings....
- Set Simulation Grid Timestep (Coarse 0.01 s through High-Fi 0.0001 s).
- Choose a Cavitation Model: Standard Clamping (Legacy) or High-Fidelity Column Separation (DVCM).
- Choose Grid Discretization Mode: Courant Interpolation (variable Cr ≤ 1, preserves physical wave speed) or Wave-Speed Adjustment (fixed Cr = 1, integer segments).
- Set Maximum Segments per Pipe (10–2000, or 0 to disable the cap; default 100).
- Click Save Changes.
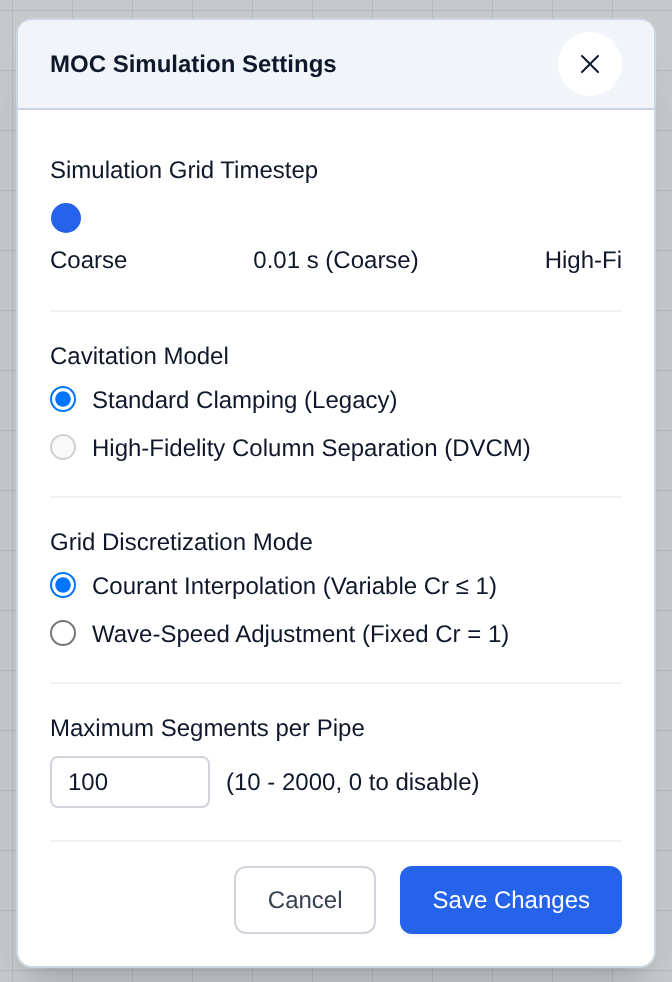
[!IMPORTANT] DVCM needs a timestep of 0.001 s or finer. A coarser timestep reverts to legacy clamping. You cannot change these settings while a run is locked — click Reset first.
Solver math for these controls is in Appendix B: timestep, cavitation, grid mode, and segment cap.
Simulation Options
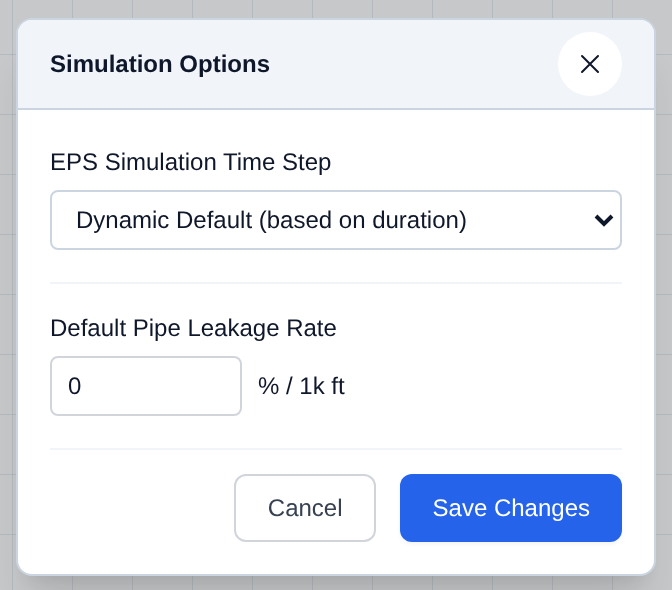
Open Simulation → Simulation Options... for EPS solver stepping and a project-wide leakage default. Available in both modes; the timestep is used by EPS.
- Open Simulation and choose Simulation Options....
- Set EPS Simulation Time Step: Dynamic Default (based on duration), or a fixed 1, 2, 5, 15, 30, or 60 minutes. Interactive playback may use a smaller step so the canvas stays fluid.
- Set Default Pipe Leakage Rate as percent loss per 1,000 length units. Individual pipes can override this.
- Click Save Changes.
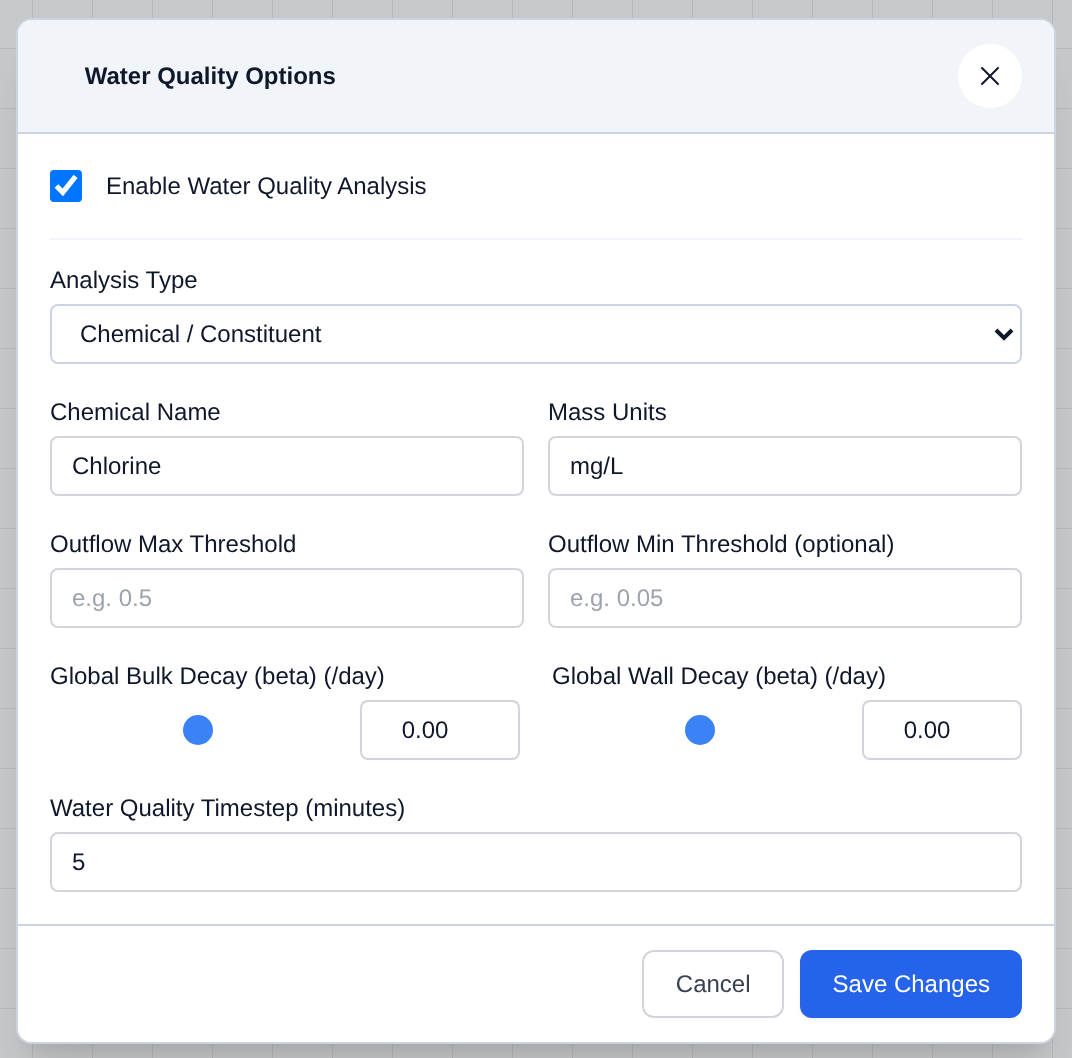
Water Quality Analysis
Open Simulation → Water Quality Analysis... to track a constituent, water age, a source trace, or an MSX multi-species model alongside the hydraulic run. Junction, tank, and source properties supply initial concentrations and source strengths after you enable this.
- Open Simulation and choose Water Quality Analysis....
- Check Enable Water Quality Analysis.
- Choose Analysis Type: Chemical / Constituent, Water Age (beta), Source Trace (beta), or Multi-Species Extension (MSX) (beta).
- Fill the fields for that type: chemical name and mass units, a trace node, global initial concentration and outflow warning thresholds, or an MSX reaction template (Chlorine Decay & THM Formation, Chloramine Nitrification, or a custom JSON model) with its coefficients.
- For non-MSX models, set Global Bulk Decay and Global Wall Decay. These are ignored by Water Age and Source Trace analyses.
- Set the Water Quality Timestep.
- Click Save Changes.
If you disable Water Quality on a model that already has custom concentrations or reaction coefficients entered, a confirmation dialog warns that those custom values will reset to default.
Cash Flow Optimizer
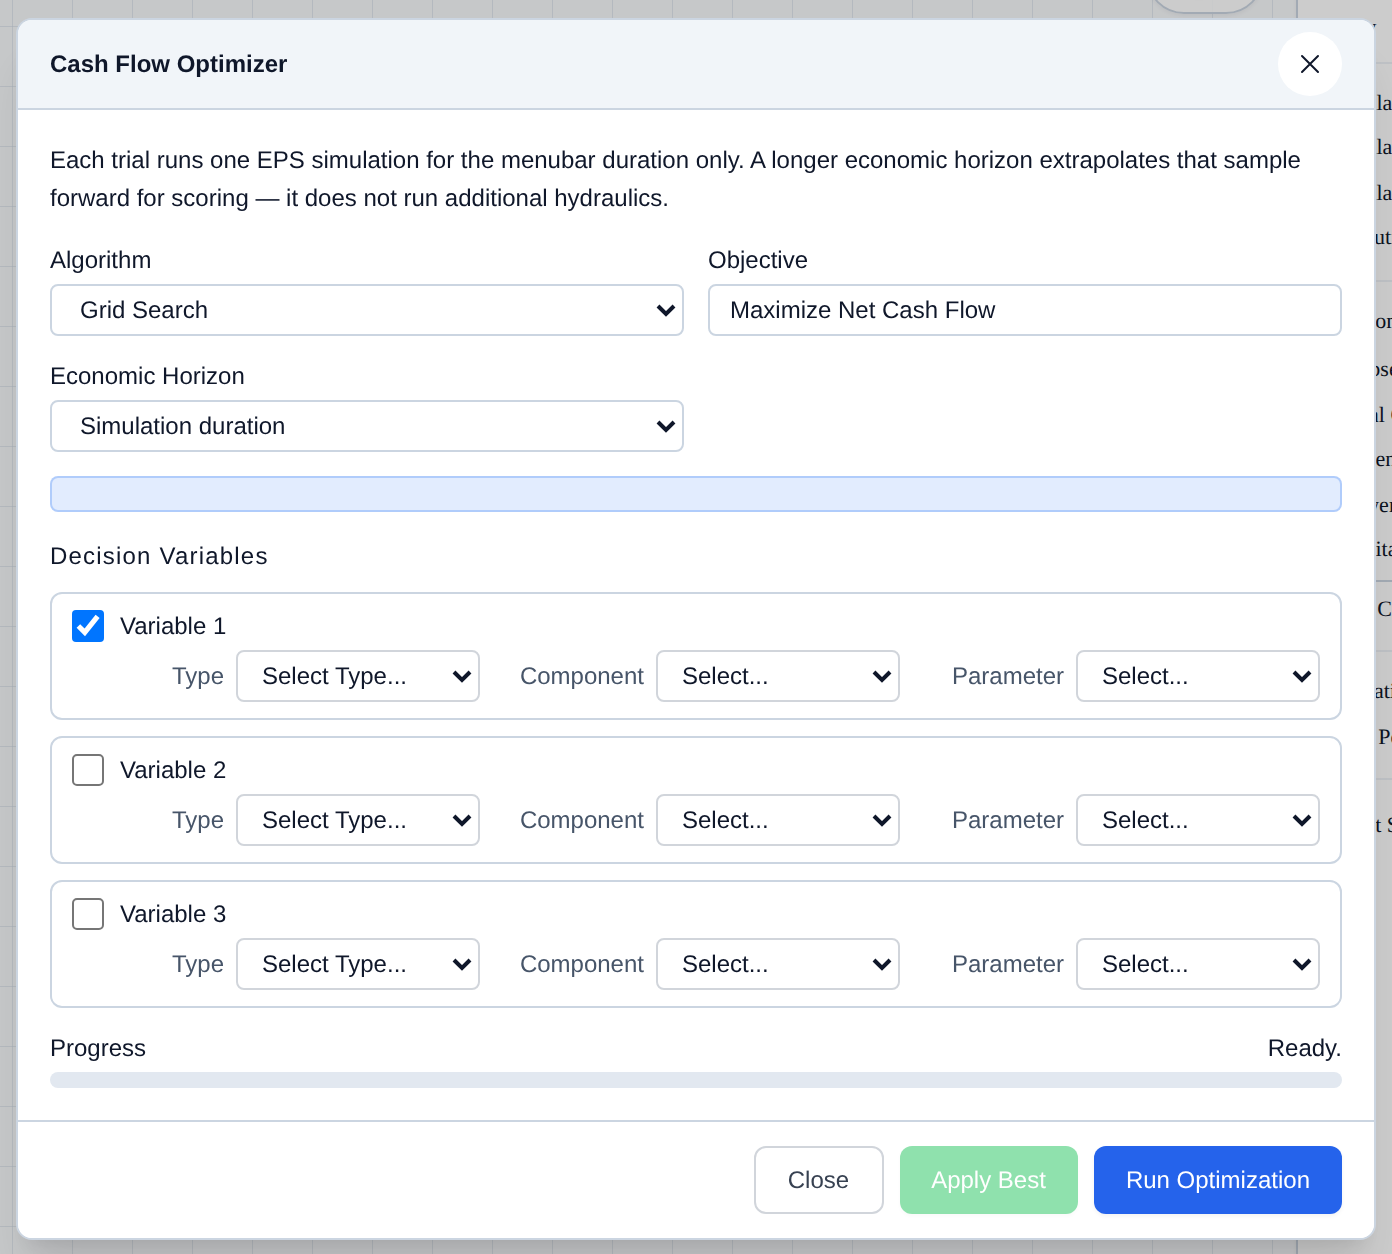
Open Simulation → Cash Flow Optimizer... to search up to three decision variables (type, component, parameter, and bounds) for the combination that maximizes net cash flow. Each trial runs one EPS simulation for the control-bar duration. A longer Economic Horizon only scales that sample forward for scoring; it does not run extra hydraulics.
- Stop or reset any active run. If the model is locked, the dialog asks whether to continue (it restores the model afterward).
- Open Simulation and choose Cash Flow Optimizer....
- Choose Algorithm: Grid Search or Random Search (then set Random Samples).
- Choose Economic Horizon.
- Enable one or more Decision Variables. For each, pick Type, Component, Parameter, and (for numeric fields) Min, Max, and Steps.
- Click Run Optimization. Stop Run cancels an in-progress search.
- Review the top results, then Apply Best to write the winning settings onto the canvas.
[!TIP] Set duration, Site Location, and Cost Estimator prices before you optimize so energy and water cash flows match the study you intend.
Transient Acceptance Criteria
Open Simulation → Transient Acceptance Criteria... when the control bar is on MOC. After an MOC run, the summary report compares tracked peaks to these limits.
- Set the control bar to MOC.
- Open Simulation and choose Transient Acceptance Criteria....
- Set Max Pressure Limit, Min Pressure Limit, and Vapor Pressure.
- Check Allow Cavitation if a short vapor event is acceptable, and set Max Cavitation Duration.
- Click Save Changes.
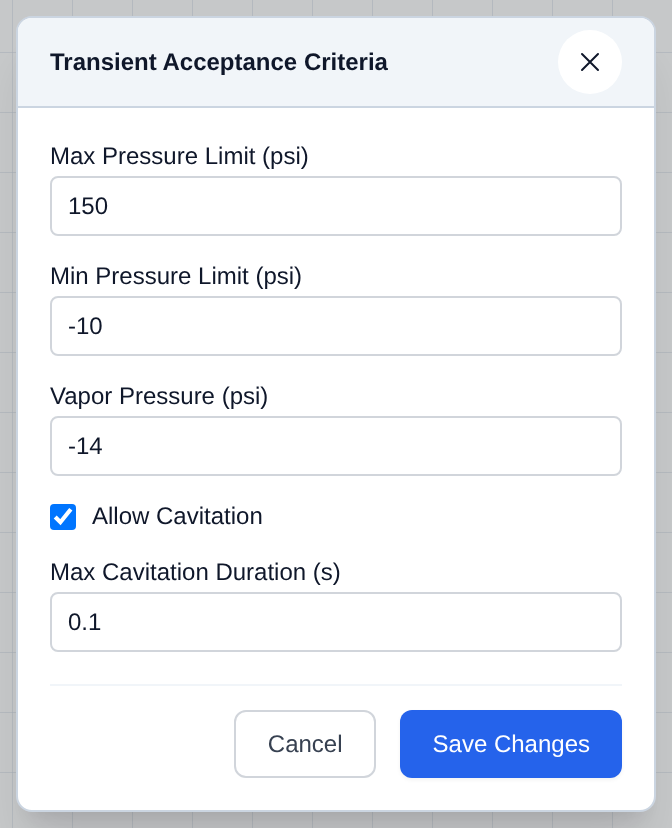
You cannot change these limits while a run is locked. The MOC Summary Report shows ACCEPTED or REJECTED against this set.
Event Sequence Manager
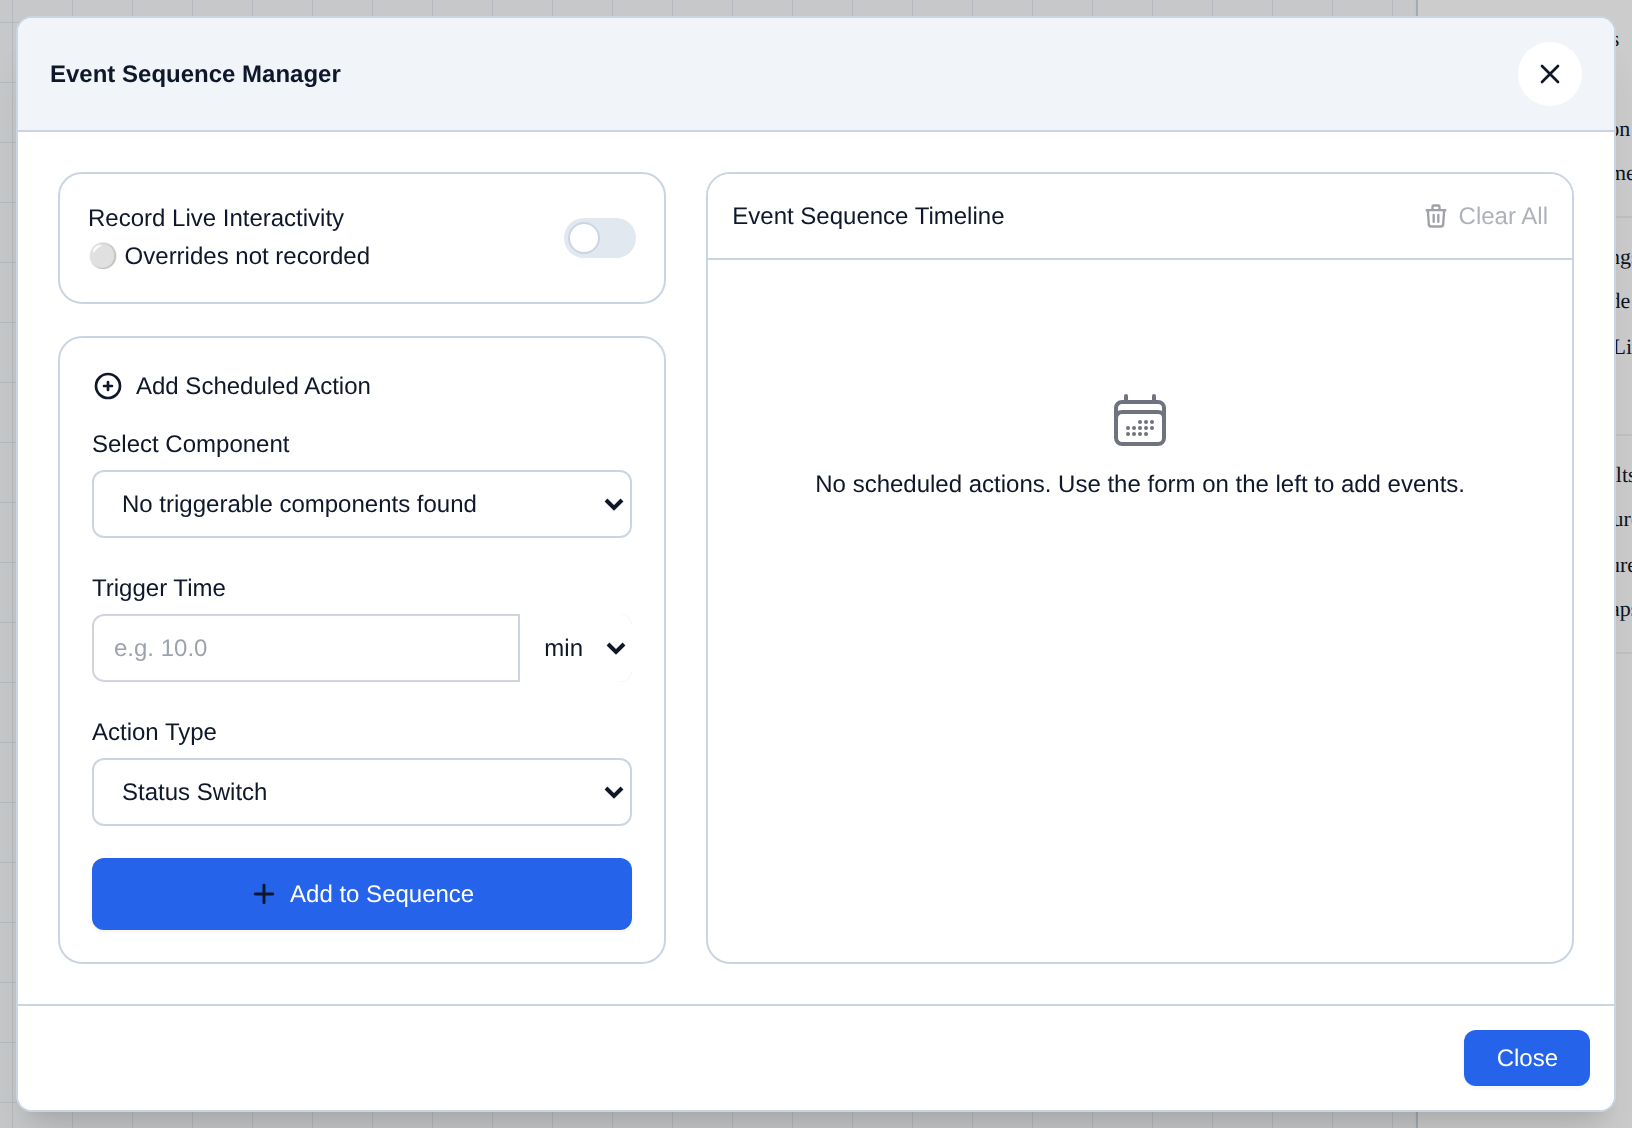
Open Simulation → Event Sequence Manager... to schedule component actions on the simulation clock. Use this in EPS (pumps, valves, demands over hours) or MOC (trips and ramps over seconds). Components that already have a control link are omitted from the list.
- Open Simulation and choose Event Sequence Manager....
- Optionally turn on Record Live Interactivity to capture canvas clicks as events while a run is going.
- Under Add Scheduled Action, pick a component, a Trigger Time (min, sec, or hr), and an Action Type (Status Switch, Modulate Setting, or Target Flow / Demand).
- Click Add to Sequence. Repeat as needed. The right-hand Event Sequence Timeline lists the queue; Clear All removes it.
- Click Close. Run the model from the control bar; events fire at their times.
Model Validation
Open Simulation → Model Validation... in EPS mode to compare R-THYM outputs to a native EPANET solve for the paused duration. The command is disabled while the control bar is on MOC (EPANET is not a surge solver).
- Set the control bar to EPS, run, then pause (or finish).
- Open Simulation and choose Model Validation....
- Click Run Validation.
- Inspect the time-series overlay (R-THYM vs EPANET), R² / MAE stats, and the component summary table.
- Use the component dropdown to switch which series is plotted.
- Click Close Dialog.
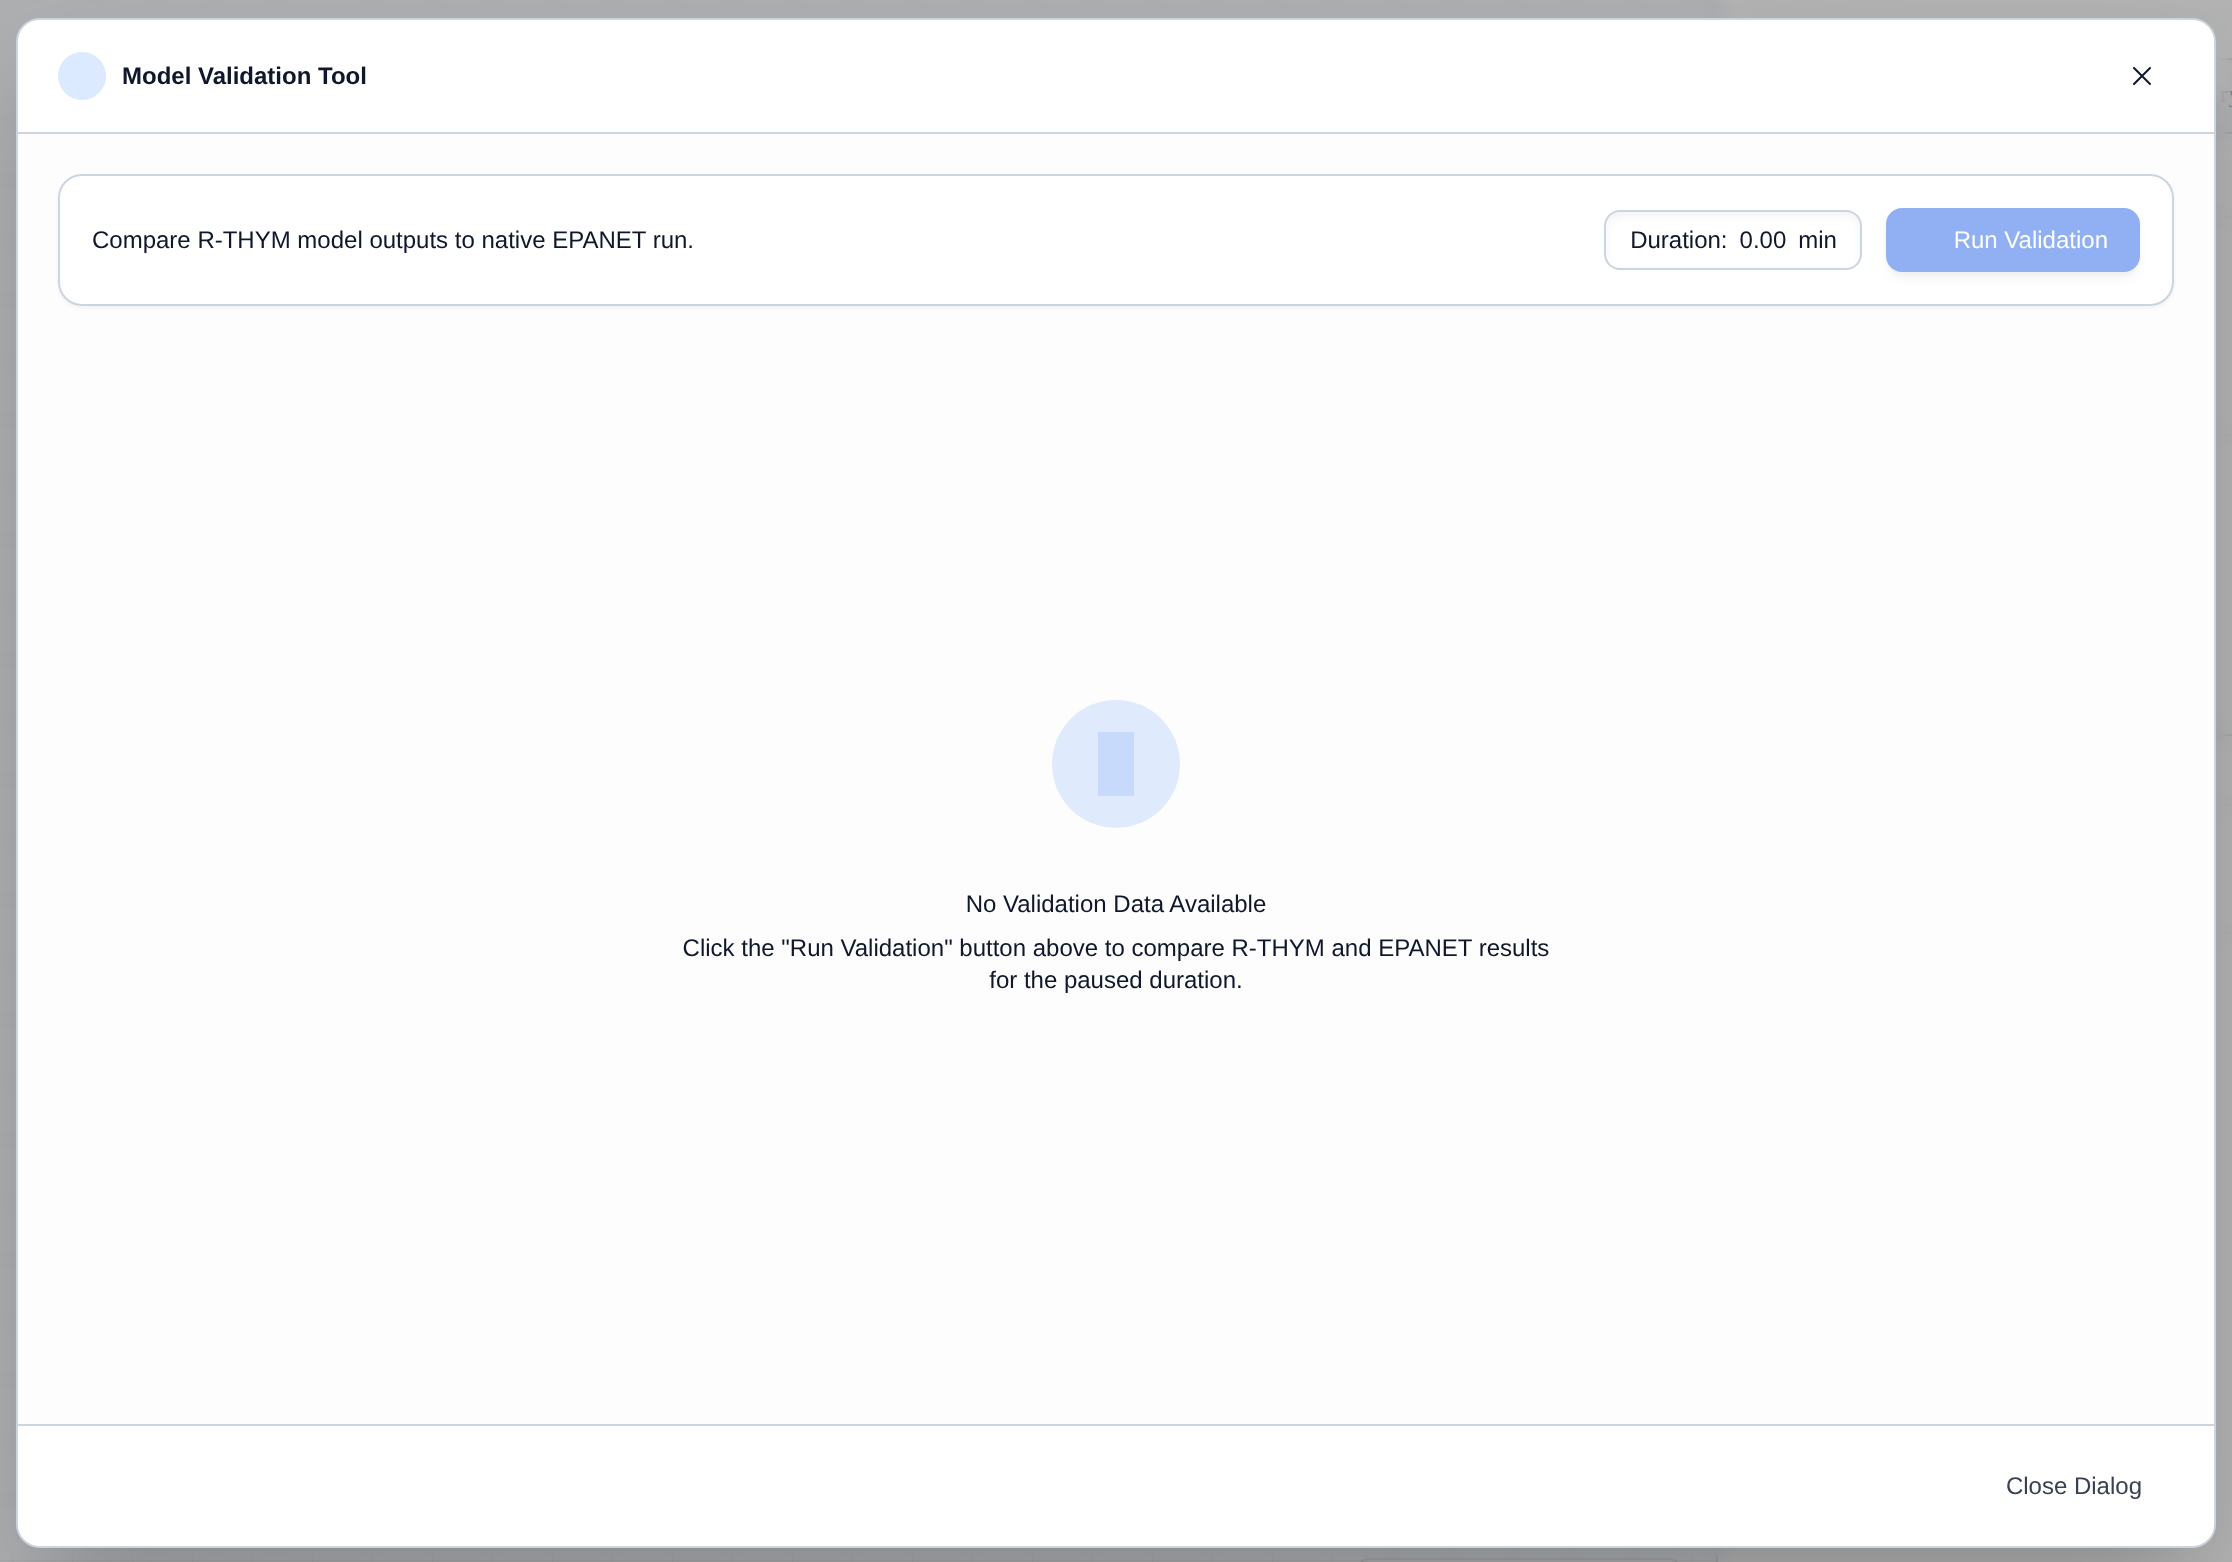
[!TIP] Run Validation is disabled until a paused duration exists. Differences can come from R-THYM power constraints, battery CC/CV charging, valve ramps, or check-valve delay — not only from hydraulic solver disagreement.
Scenarios
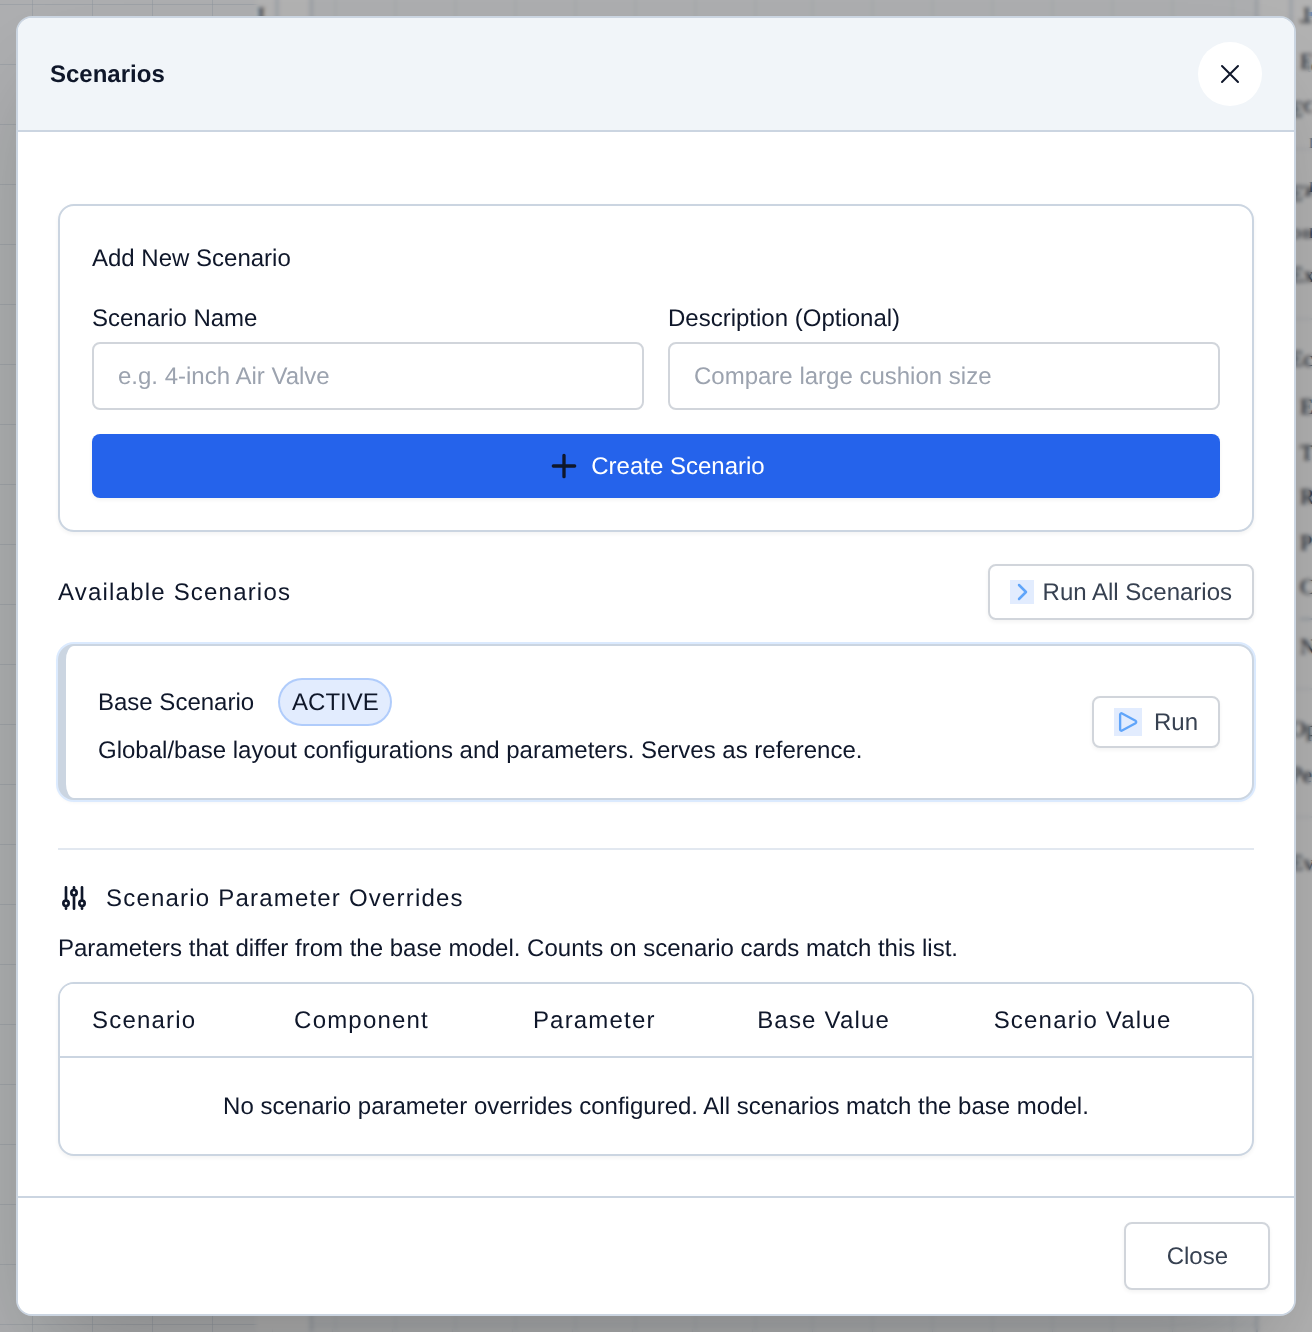
Open Simulation → Scenarios... to keep a Base Scenario plus up to two named variants. Edit the canvas while a scenario is active to record parameter overrides. Run one scenario or Run All Scenarios to compare results (reports follow the active scenario).
- Open Simulation and choose Scenarios....
- Enter a name (and optional description) and click Create Scenario.
- Click a scenario card to make it active, then change component properties on the canvas. Overrides appear in the table at the bottom.
- Run the active scenario from the card, or Run All Scenarios.
- Open the EPS or MOC summary report to view that scenario’s results.
- Click Close.